


 Reply With Quote
3rd tank!?
Waaa I really envy you.
My 2nd tank is still pending I think no hope liao.
You gonna teach me your negotiation skills someday lol
Keep us posted, I'm very interested in your scape concept.


I always wanted to create a tree canopy underwater.
Only imagine a cold-dry driftwood that transformed to a lovely tree with wide lush green branches, fish, and shrimps enjoying themselves under the canopy would make me feel so relaxed and inspired.
So here it goes.
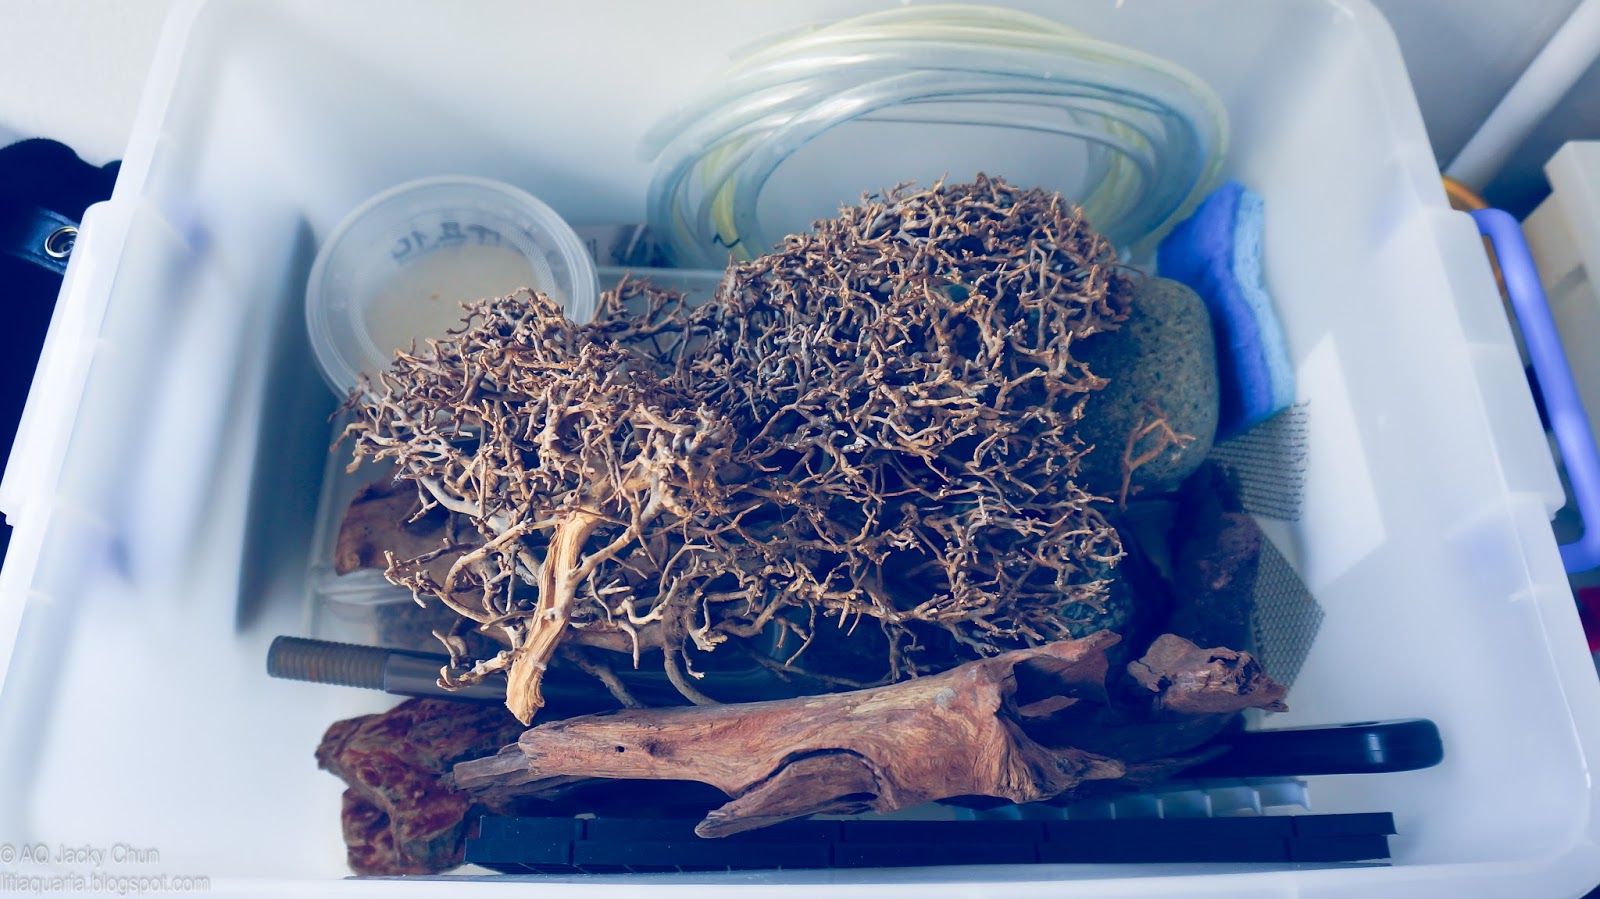
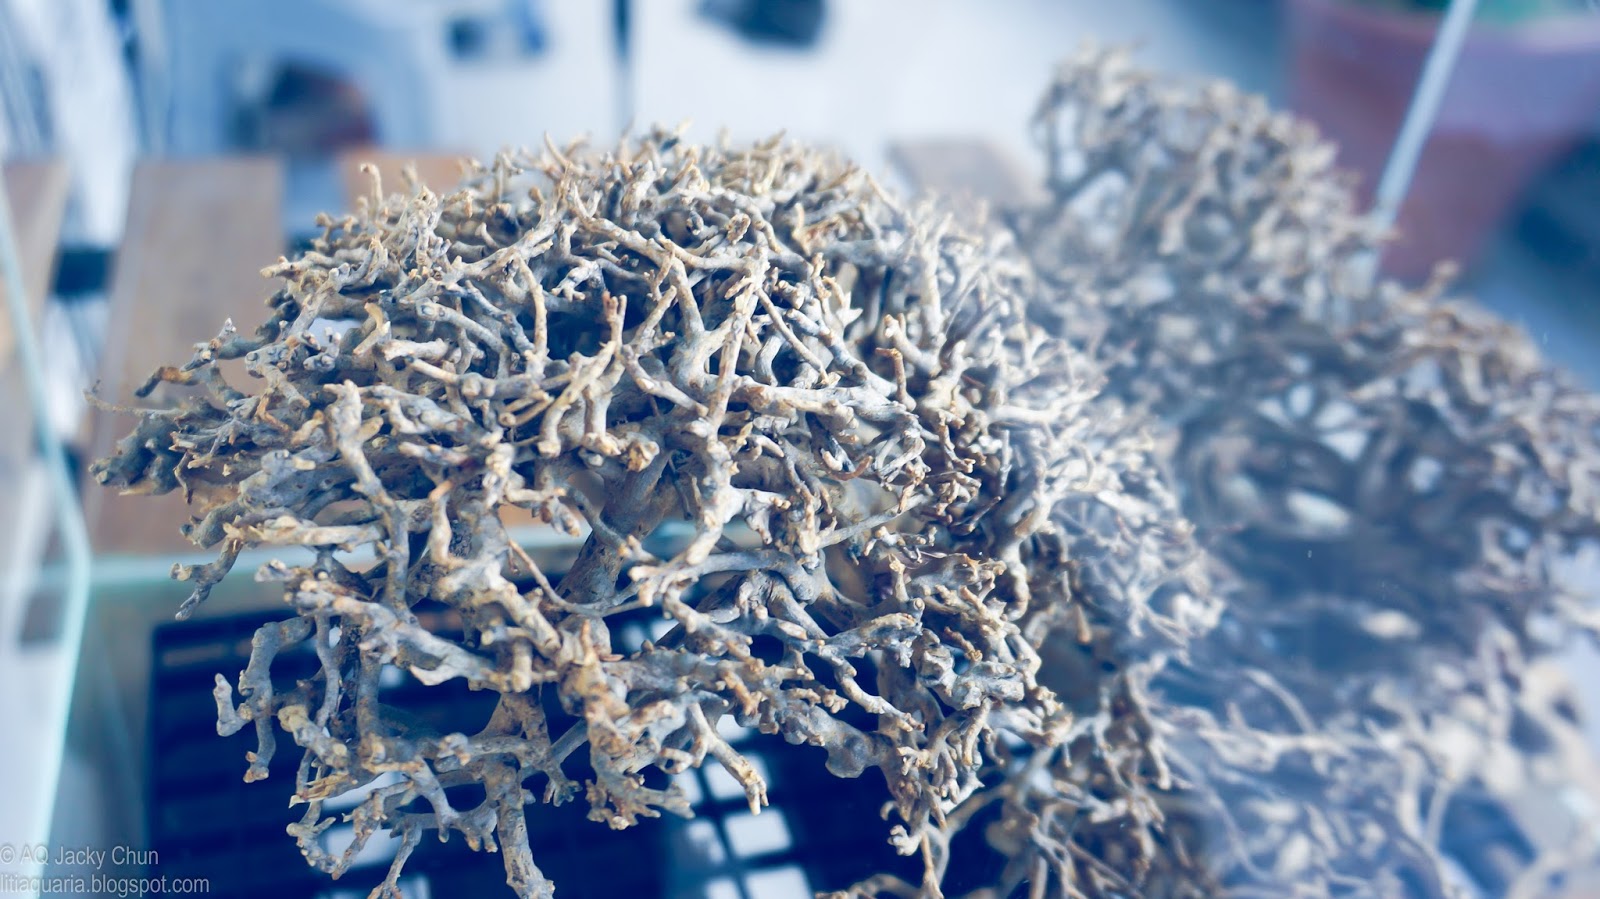
It started when I happened to get a bonsai driftwoods from an LFS in Vietnam during the visit there. That piece of bonsai driftwoods with great canopy really made me dream about how to make it relive in the underwater world. I kept the woods for quite sometimes by putting it on my working table, where I can daydream about what I could do with it. J At that time, I already had three planted tank in my home and space was really limited to put just one more. The chance of having a bigger tank (i.e.3ft or 4ft) was slim due to the space limitations at home and also a no-no approval from boss. Alright, happy wife, happy life! Nevertheless, I still looked forward to a space around the home to just get a nano tank, with the minimal budget of course. Hehehe
The Bonsai driftwood piece was bought during my trip to Vietnam
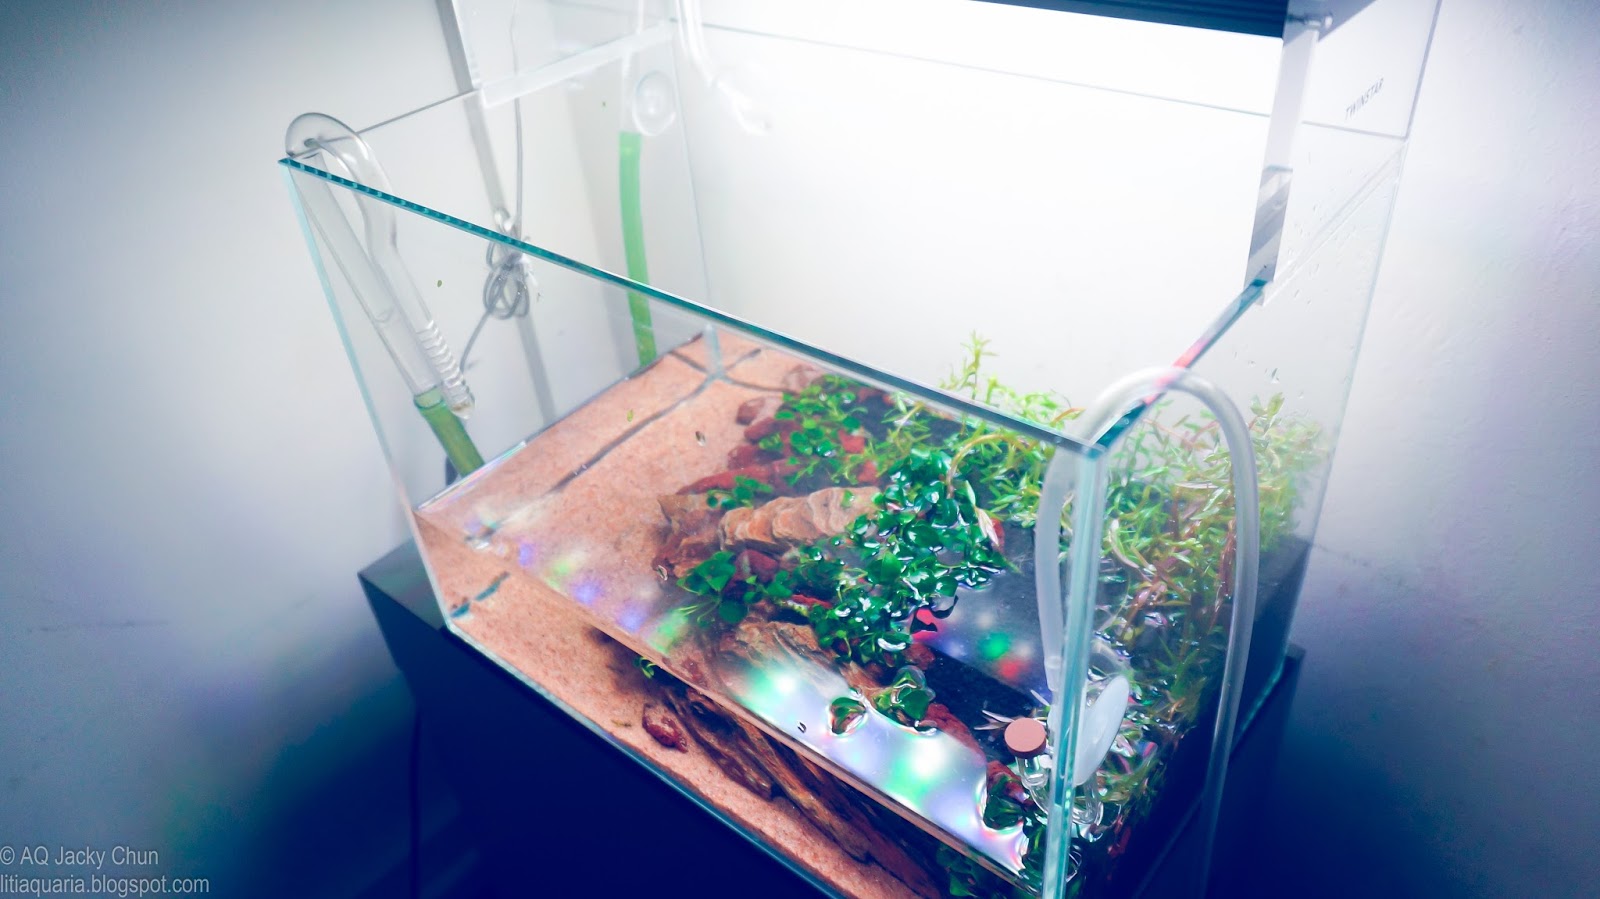
And the right time came. I saw a very good deal from an AQ fellow hobbyist selling 36cm crystal tank and Twinstar LED Light 360E. I quickly got the tank first and did a research for a few days before getting the light. The reason was this light was quite strong and would cause a headache due to algae issue later on. However, you never try, you never know. I would like to go ahead and got it for my own experience. It was a really good deal anyway. J
A blank glass canvas that I can daydream every time
Tank size 36cmLx22cmWx26cmH
Tank, checked.
Light, checked.
Filter. I got an Eheim Classic 150 (2211) as a spare filter in my storage. So, it was just nice to have it for this new nano tank since the flow rate of 300l/hrs was quite good for this 20L tank.
Testing Eheim 2211 in progress
CO2 set. I also had a set of CO2 cylinder and solenoid valve spared. Just need to go for top up, get a CO2 diffuser and done.
CO2 set was top-up at NA Thomson and now ready for the new tank
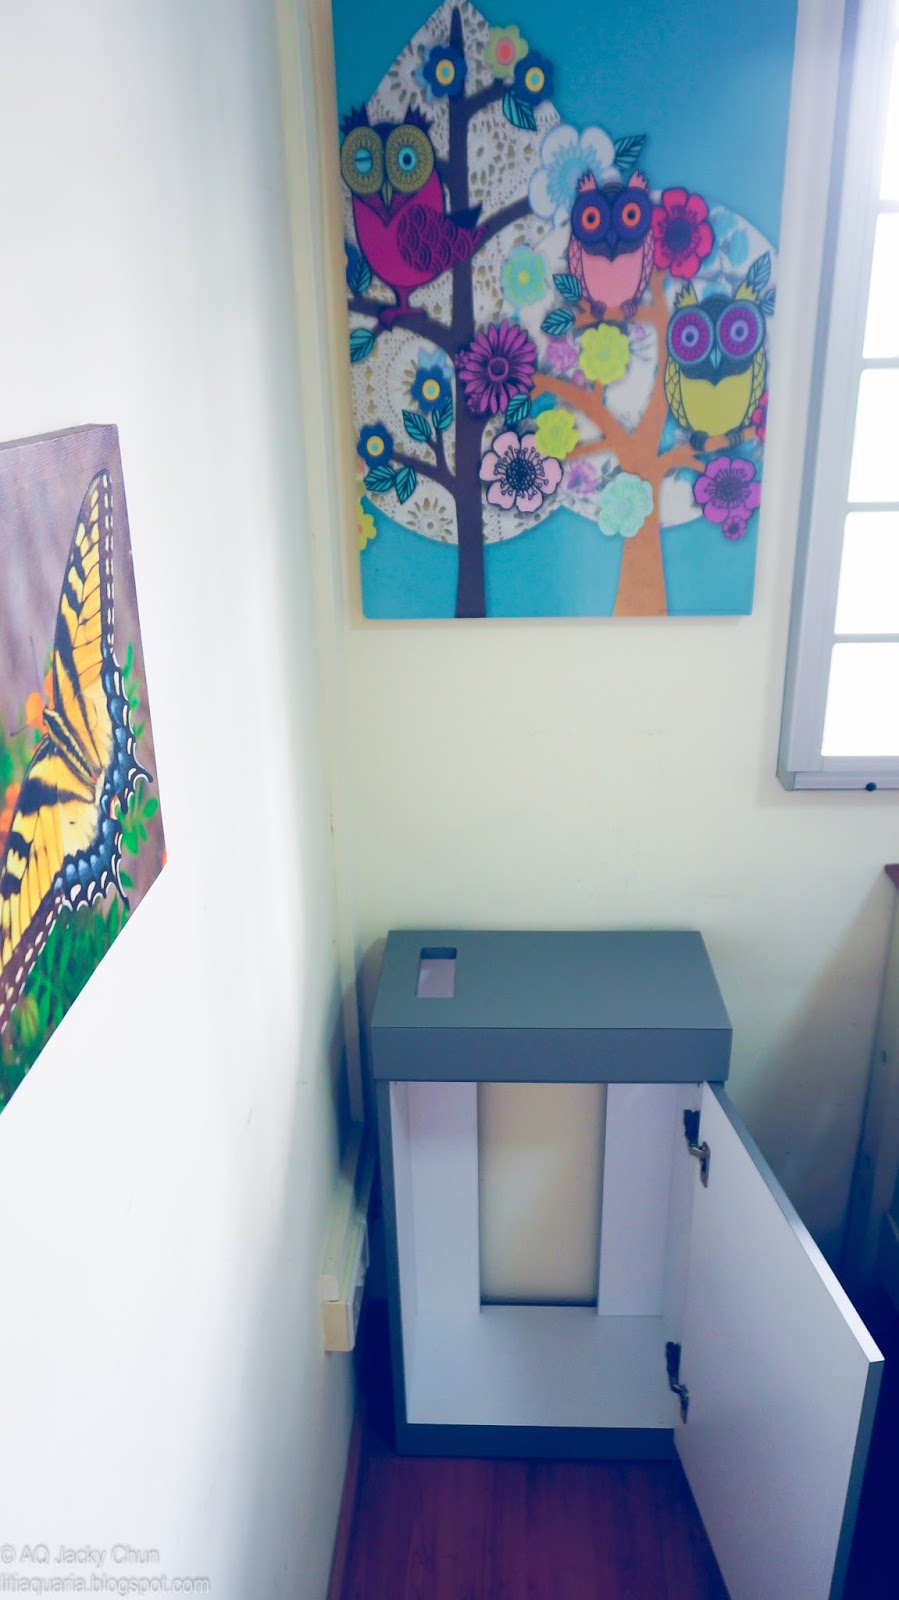
Things all came at the right time, again. When I got most of the equipment that I need and looked for the place for the tank, I got another deal for a 45cm ADA Style cabinet from a carouseller. The seller was so nice that even delivered the cabinet to my block. The hinges were a bit rusty but it was functioning totally fine.
Before condition of the cabinet.
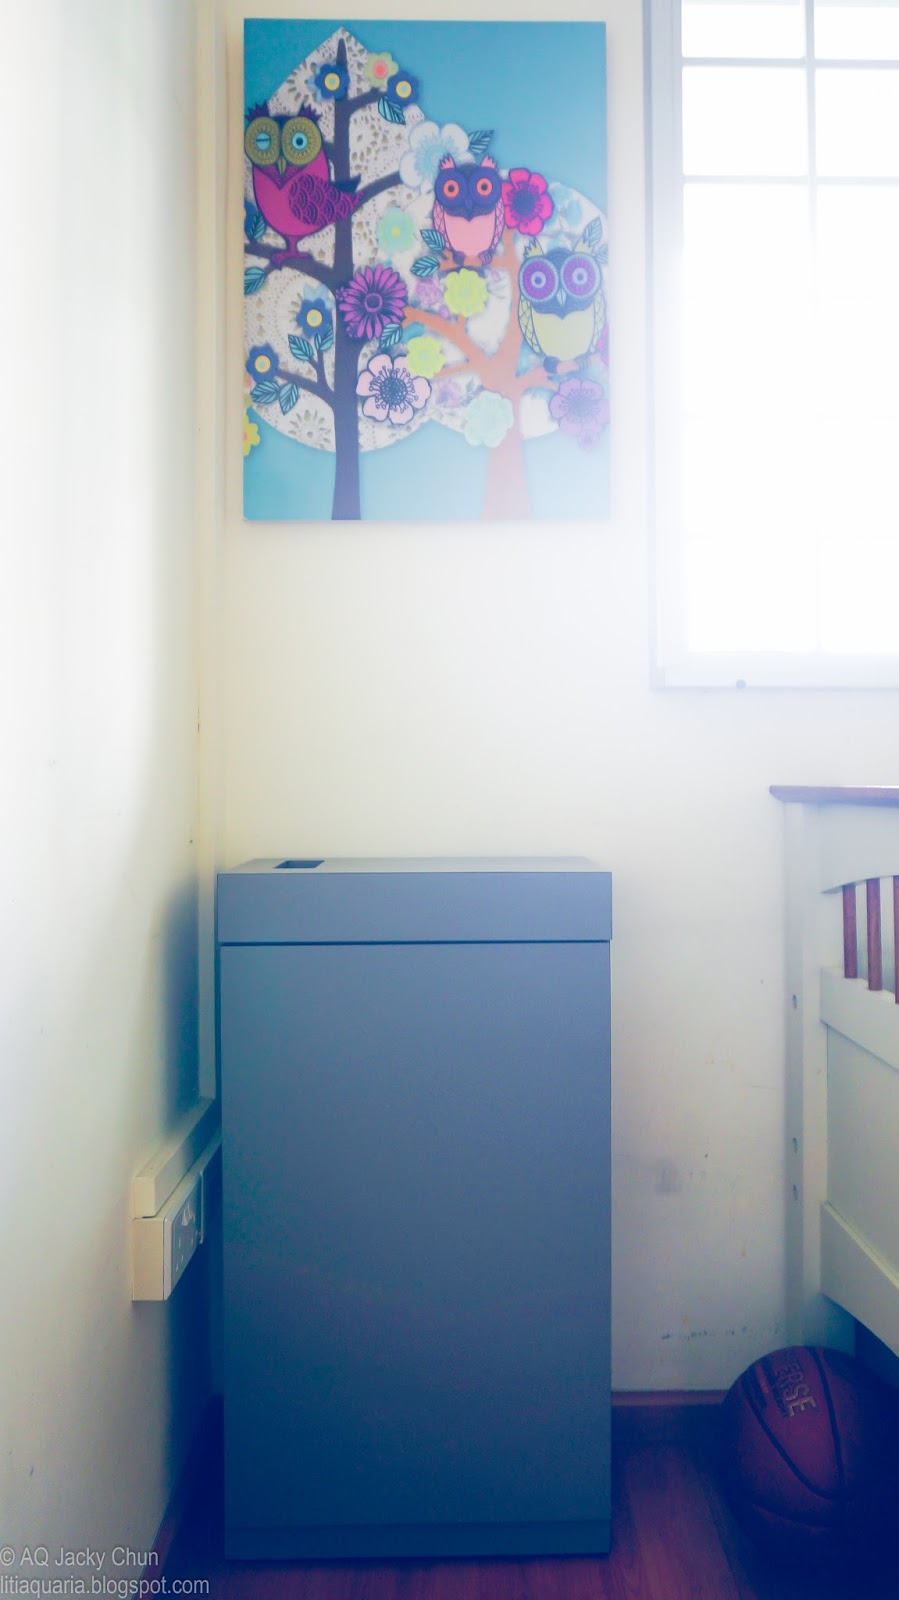
After some cleaning and touch-up And the journey begins.
It fits perfectly in my small corner of the room
Cabinet size: 45cmLx25cmWx80cmH

3rd tank!?
Waaa I really envy you.
My 2nd tank is still pending I think no hope liao.
You gonna teach me your negotiation skills someday lol
Keep us posted, I'm very interested in your scape concept.

Nice cabinet!
Haha... Thanks bro. This is the 4th oneOriginally Posted by j.c.koh

Nano tank should be a good start to negotiate!

Thanks Nigel95!
I would like to continue the journal
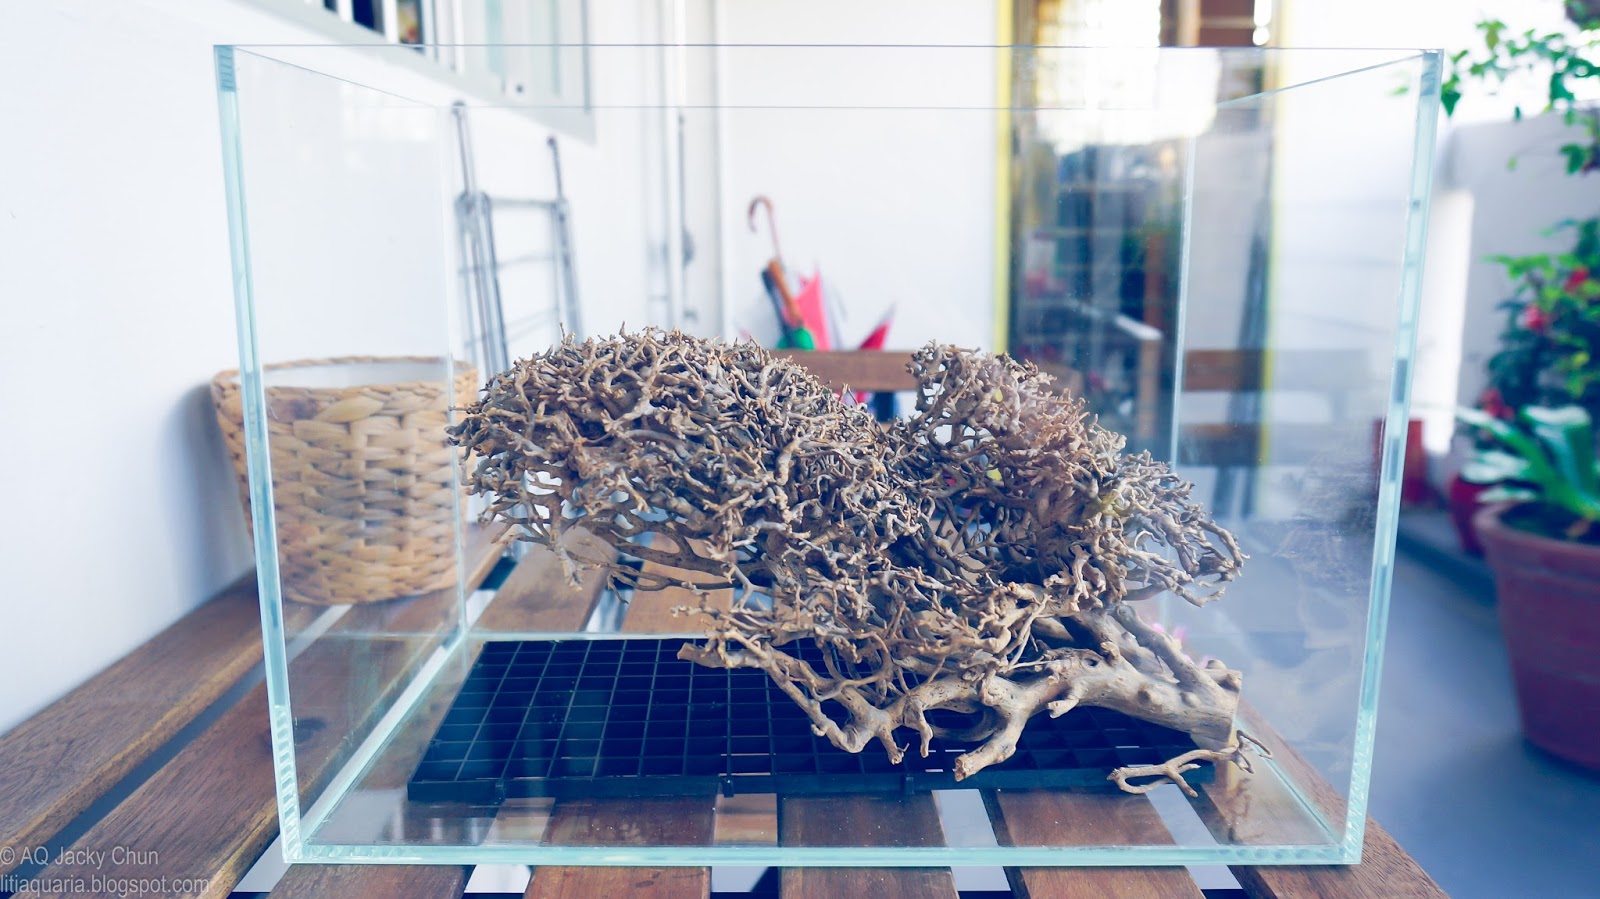
A dream was about to come true. I can arrange the bonsai driftwood in the tank and daydream for so long.
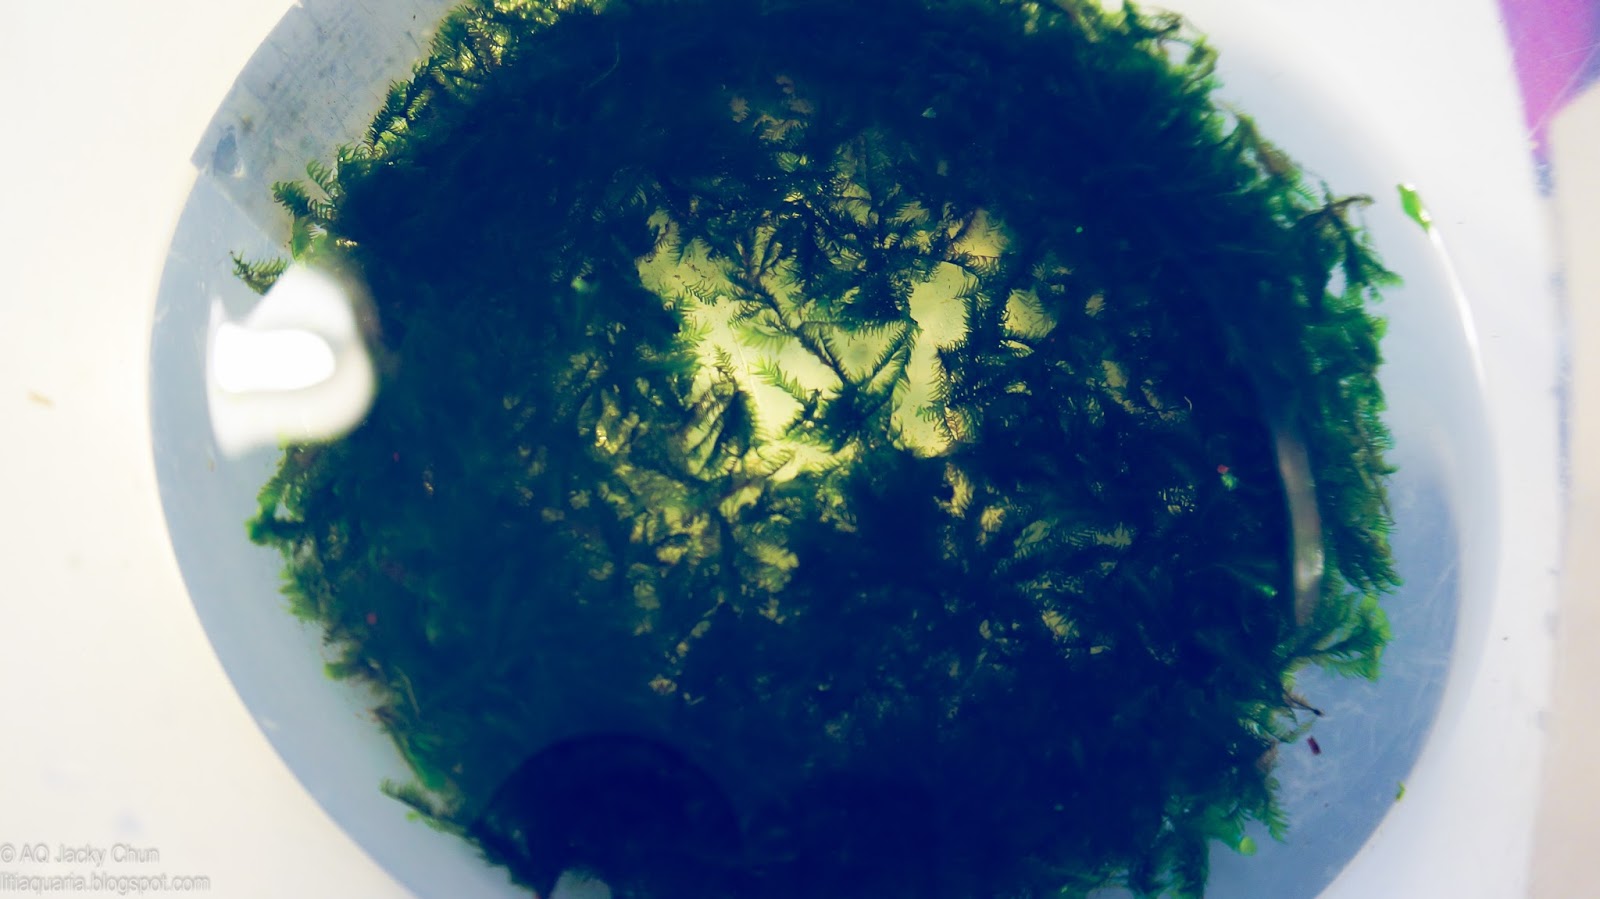
Fissidens Splachnobryoide (mini fissidens moss) was chosen as the "raintree's leaves". The reason was mini fissdens would grow slowly and spread over the surface rather than grow too bushy like other mosses. It stays short and hence, less maintenance in the future.
The bonsai driftwood was just nice fit in this nano tank
However, I have never tried to grow it before and therefore, not so sure about how it would turn out. Some say this moss is quite difficult to grow since it needs a cooling environment with good lighting. Whereas, others have also been successful growing it under a non-chilled environment in a low-tech tank. In my case, it would be mixed of those two: high-tech tank with no chiller and lean fertilizer dosing.
Fissidens Splachnobryoide was chosen to bring life to this driftwood
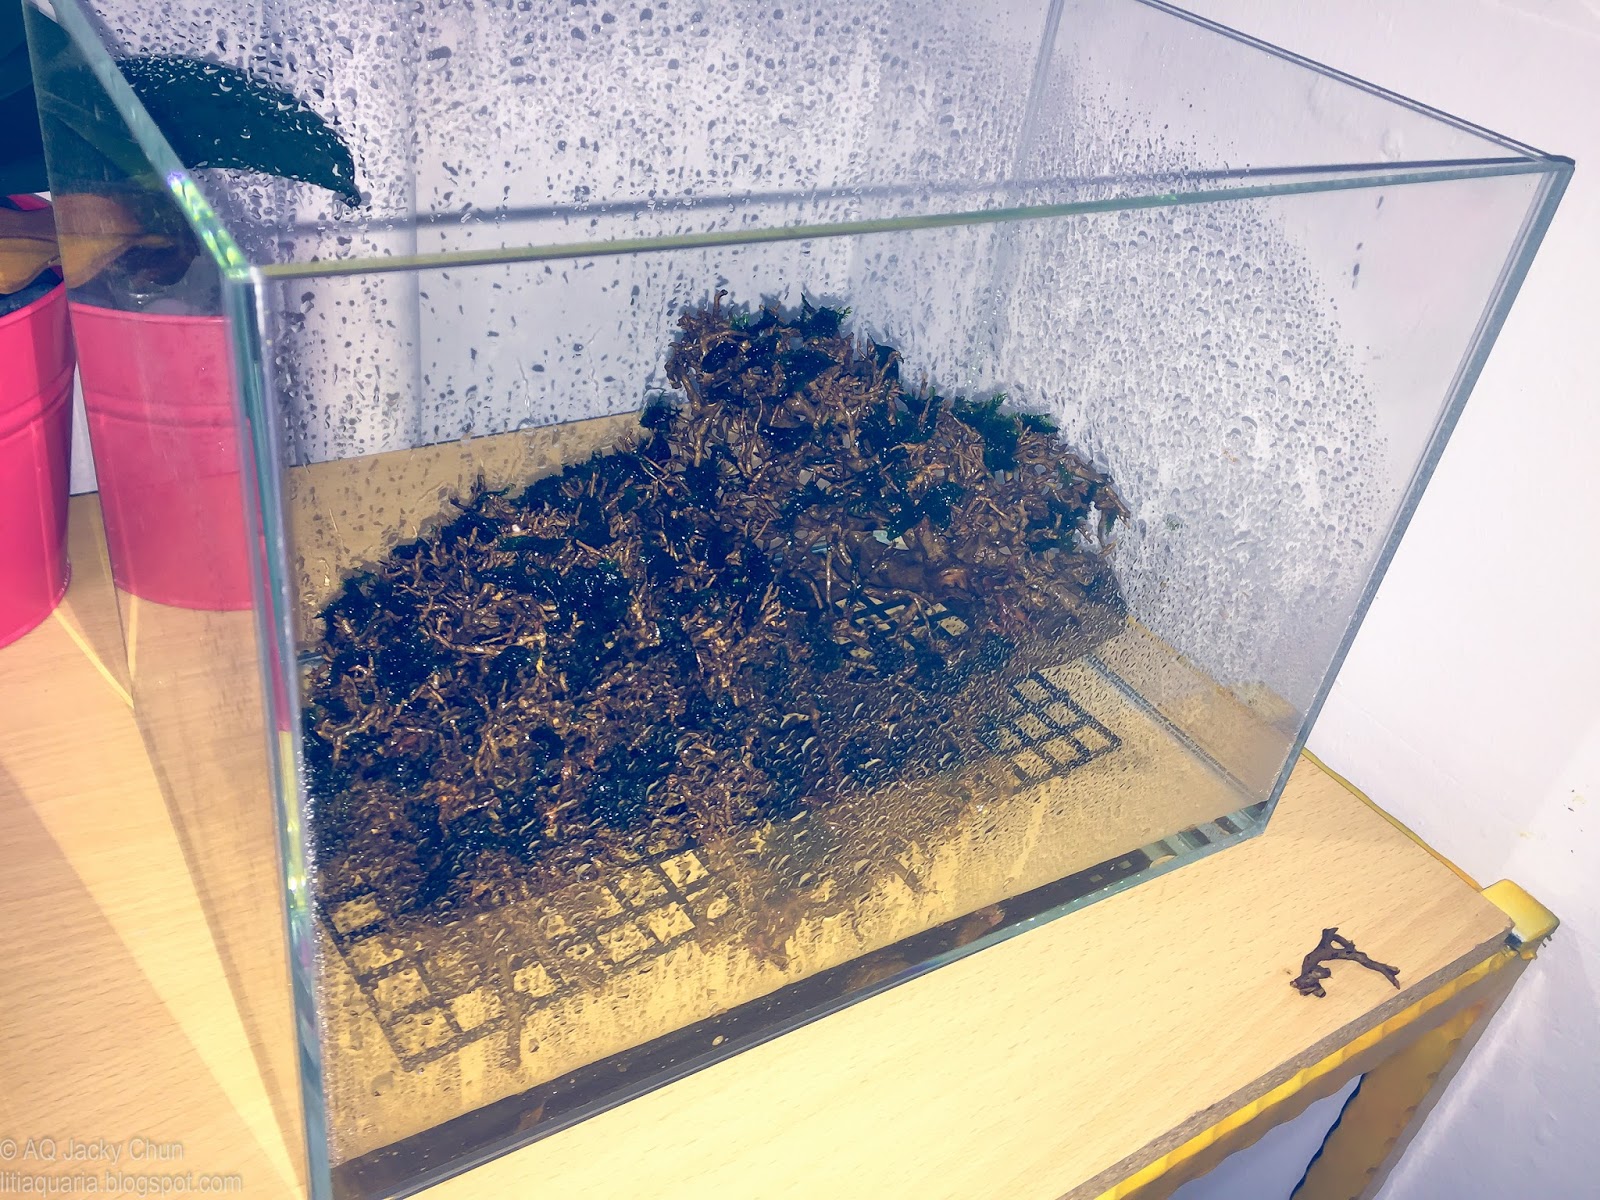
DSM (dry-start-method) was used to start growing mini fissidens on the bonsai driftwood. I just tried to turf loose-form mini fissidens into branches of the driftwood. Then, water was kept on spraying on it time to time during the setting up. Few centimeters of water was left in the bare tank and wrapped over by Clingwrap. To keep it moist, water was sprayed over the wood 1 to 2 times a day then wrapped it back again. The tank was left outdoor (not direct sunlight) for natural lighting for about a week.
A tub of mini fissidens in loose form was prepared for this mission
Spraying water on driftwoods to make it wet
Mini fissidens moss was placed on the bonsai branches
After a week, it seems like the moss had been adapted to the new environment and can see some new tiny leaves grown out from the original one. It was then brought indoor for flooding, it is the transition period for the moss to grow submerged and in the meanwhile, I was gathering the rest of necessary equipment. There was no CO2 injection at that time. This is kind of low-tech tank with low lighting to minimize algae.
Tanks was then covered and leave outdoor to received nature lighting for about a week
The tank was brought indoor and was ready to be flooded
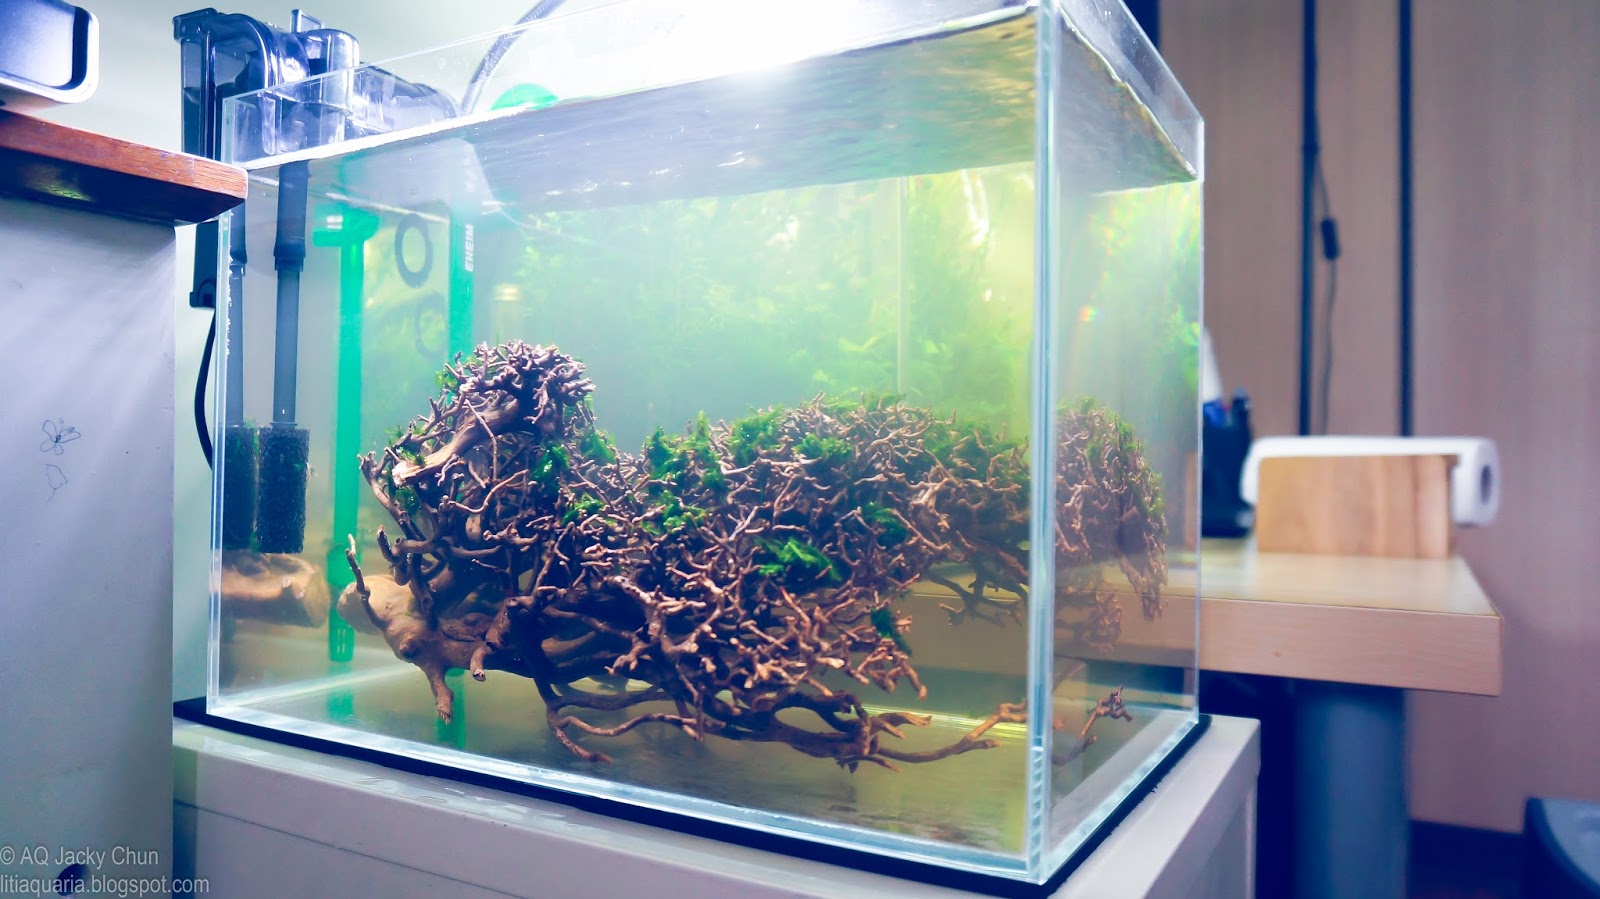
The tank after being flooded The bonsai driftwoods leached out lots of tannins even I already boiled it before it was used. It is a good time to soak it a little bit more.
The "Tree" looks quite interesting at this angle.
Next step will be aquascaping!
Tannin was leached out make it looked like a bio-top setup
Hey bro! Nice to see your blog again. Good that the tank & light works great for you! How did you secure the fissidens to the branches? Tying them?
Sent from my iPhone using Tapatalk
Very creative....
Check out my Blog on planted tank, good for newbies ( i am lazy to retype all the info i know, so please click and read below link... i hope you don't fall asleep while reading)
Link to my Blog
I am not PERFECT but I am LIMITED EDITION !!!BIG Tank comes with BIG Responsibility...as they makan a lot of $$....lol
Hey bro! Ya, tank and light are very good! I like Twinstar already!
For the fissidens, I just try to place them between bonsai branches. So it can be stuck there without any glue or tying thread. After a week of dry start, most of them secure themselves there.
Sent from my iPhone using Tapatalk
Thanks bro wongce and TTerry.
@wongce: Your blog is very informative and it is a great reference resource.
Sent from my iPhone using Tapatalk
It might be the time to put up the summary for the tank specifications:
Tank Size: 36cm x 22cm x 26cm (High Clarity / Low Iron Glass) Gross Tank Volume: 20.59L Substrate: ADA Aquasoil New Amazonia (<3L) Filter System: Eheim Classic 150 (2211)
+ 13mm GUSH inflow/out flow Lily PipeFilter Media: Bio Media Filter Temperature: 28-29°C (Day) / 27-28°C (Night) Lighting: Twinstars 360E, Temp: 7050K, 17W, 1100 Lumen,
Full spectrum LEDs for optimum color reproductionLight Duration: 6 hours (0800hrs- 1100hrs, 1800hrs-2100hrs) Pressurized Co2: OceanFree Co2 System + CO2 diffussers Co2 Duration: 6 hours (0700hrs- 1000hrs, 1700hrs-2200hrs) Carbon Supplement: Seachem Excel: 0.5ml daily Fertilizer: Seachem Florish: 1.0ml weekly Seachem Iron: 1.0ml every other day Seachem Potassium: 2.0ml every 2 days Other additives: Seachem Prime Fan/Chiller: None Water Change Regimen: 50% weekly Water Parameters (Cycled): Tested using API Test Kits pH = 7.0 Ammonia = 0 ppm Nitrite = 0 ppm Nitrate = 5-10 ppm Flora: Rotala Rotundifolia Anubias nana 'petite' Fissidens Splachnobryoide Fauna: Neocaridina Davidi Caridina multidentata Otocinclus affinis
Step-by-Step setting up the tank was summarized as below: ^^
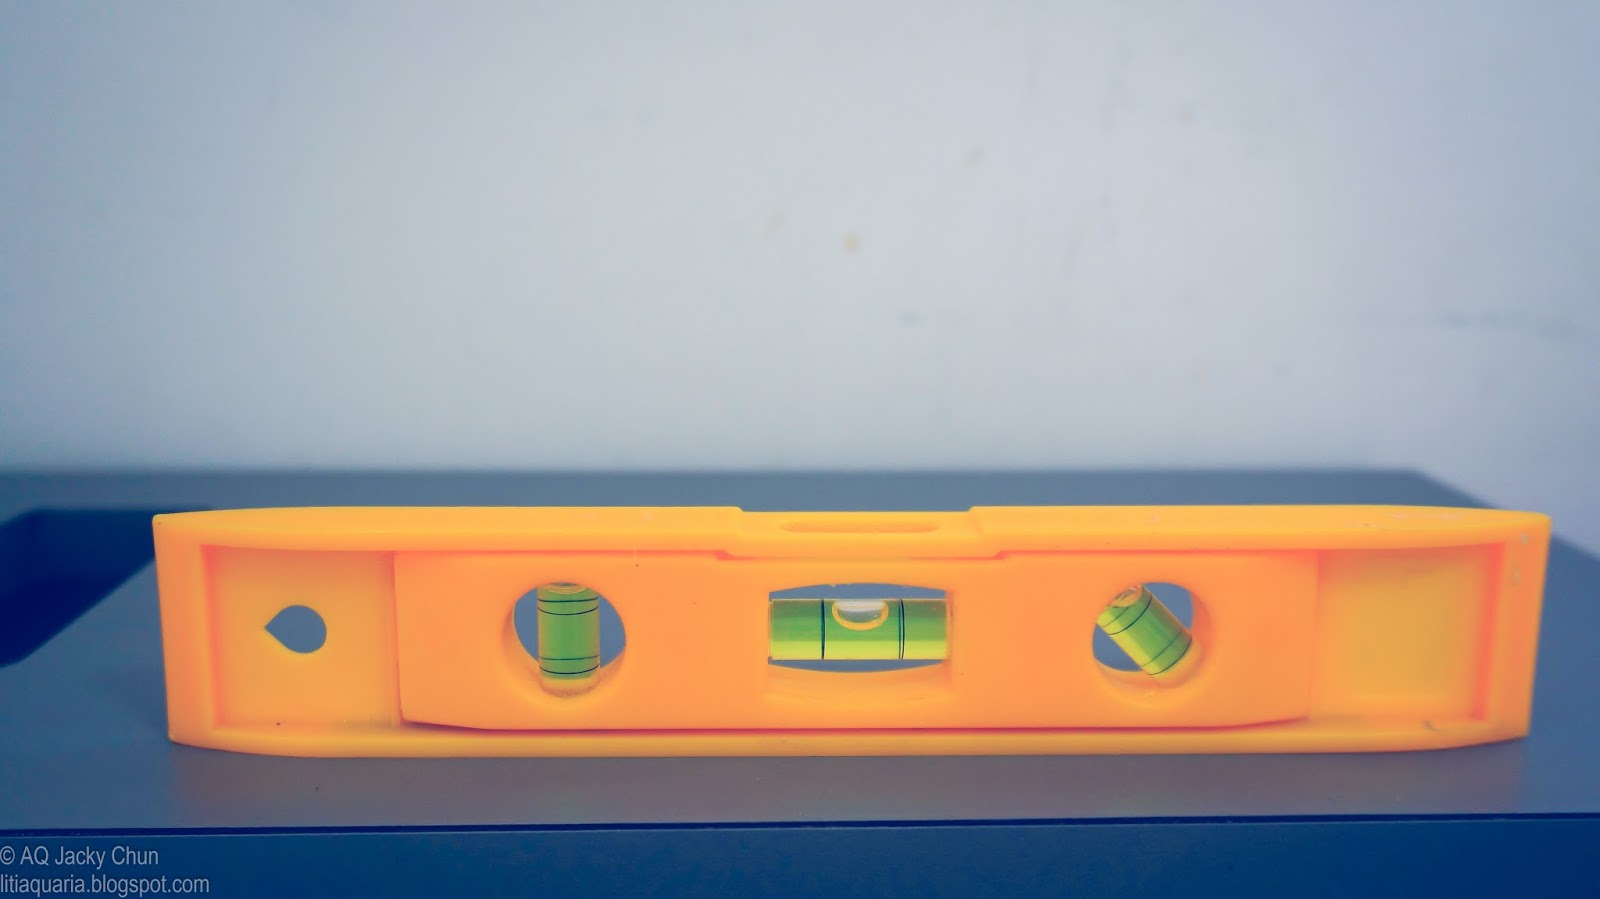
Leveling of the cabinet and tank were checked before water flooding.
The tank was cleaned properly before placing in the position.
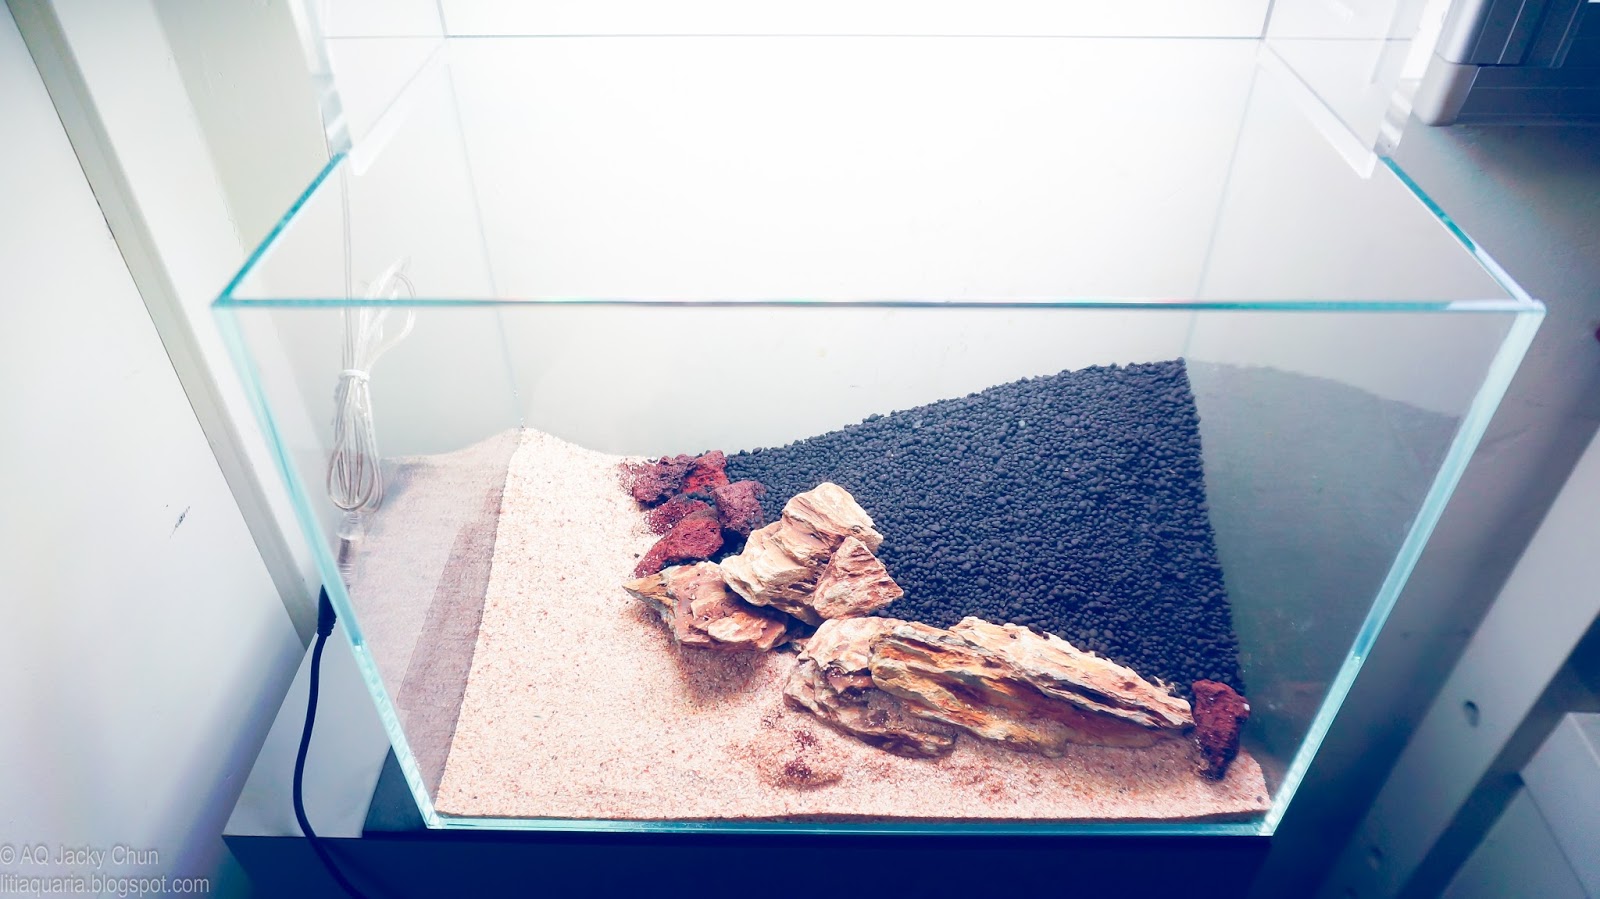
Plastic mesh was placed at the bottom so that the rocks would not damage the tank since the force would spread around. Pagoda rocks were chosen in this setup since I would want to make the scape having some warm feeling. This rocks can be found quite easily at any LFS in Singapore. As can be seen, an island was created at the corner of the tank.
Lava stones were placed at the bottom of the "island" to create the height for a better sense of depth and also to create a good environment for beneficial bacteria in the future.
ADA Aquasoil (normal type) was put on the island after that.
Lastly, Sudo Bottom Sand was placed in the tank. I chose Sudo Bottom Tank since it had warm colour and matched the idea of the layout (i.e. warm tone). It looked quite nice at the time of setup.
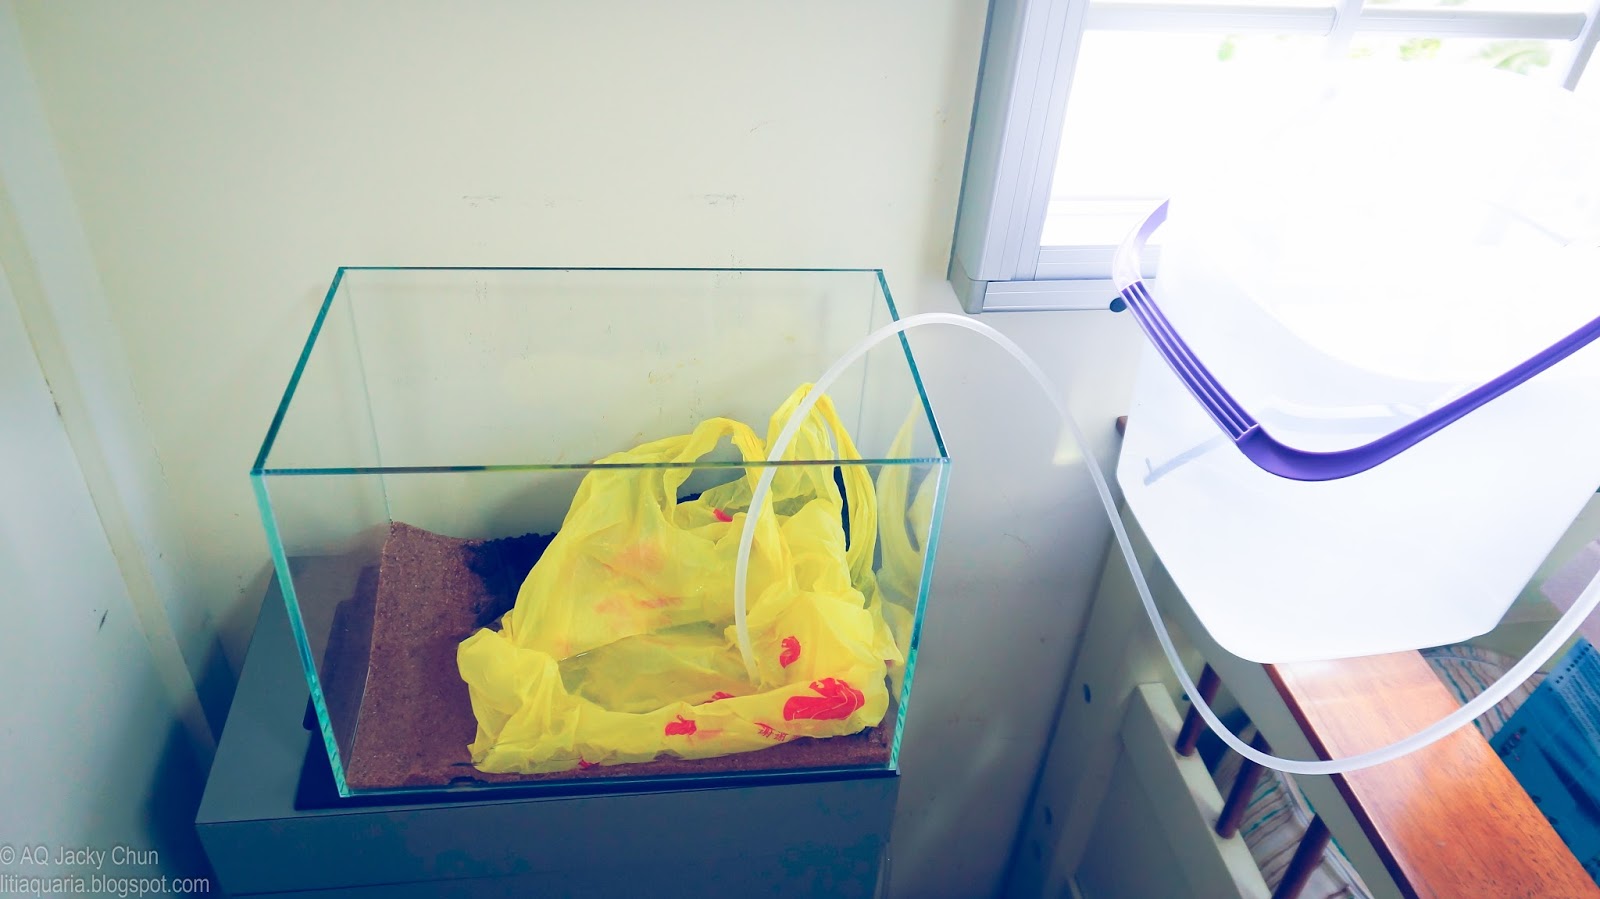
Water was introduced into the tank followed traditional method. :P
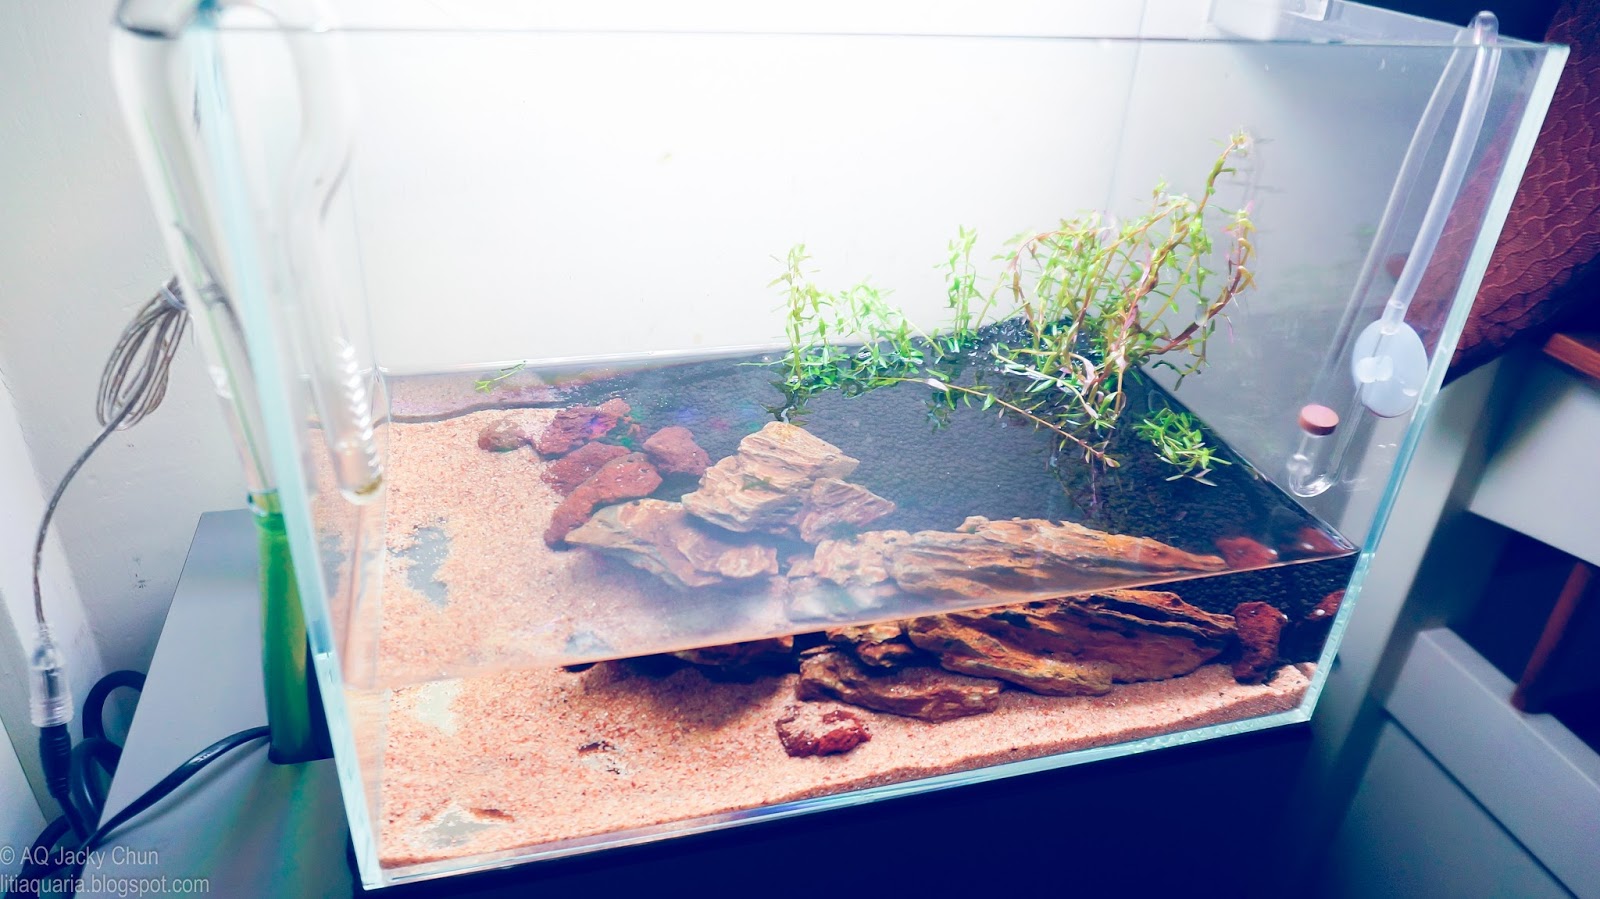
Rotala Rotundifolia was planted on the island. That was a very beautiful stem plants that grow very fast which would help to minimize algae outbreak at the beginning period. It was planted quite densely at the background.
I attached Anubias nana 'petite' to small lava stones using superglue and placed it under the canopy of the tree. It would be good growing under the shady area there.
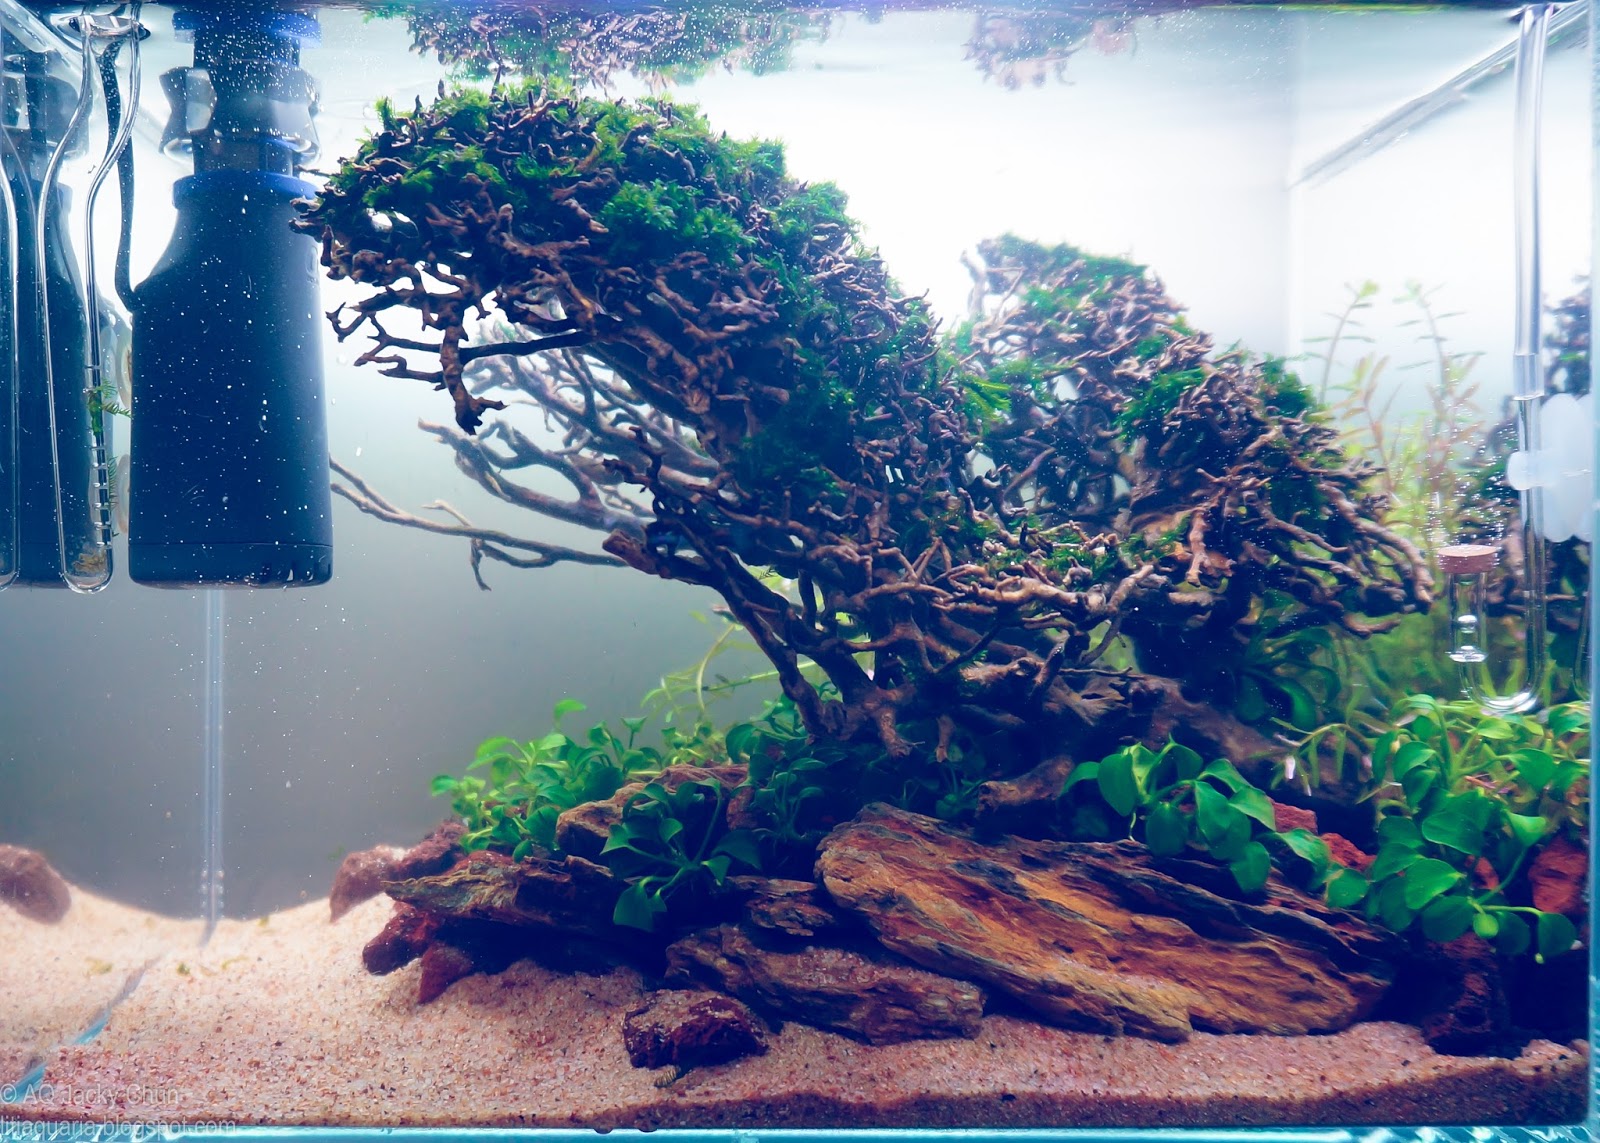
Finally, the "tree" was placed in the tank. It fitted nicely in the tank. I feel it was a bit crowded with all equipment and stuff in the tank though. I would find the way to minimize all that clutter in the future once tank becomes more stable.
And that was the final product by end of the setup day! Tada!
I will update more on the coming days. Thanks for reading. ^_^
Wohoo! nice nice
Once you are the CFO, you no need to neg. You just do things.
The CO2 duration seem to exceed the light duration? Lights off at 21:00 hrs, CO2 still on until 22:00?
Light Duration: 6 hours (0800hrs- 1100hrs, 1800hrs-2100hrs) Pressurized Co2: OceanFree Co2 System + CO2 diffussers Co2 Duration: 6 hours (0700hrs- 1000hrs, 1700hrs-2200hrs)
Wow. Sharp eyes, torque6! It should be until 20:00hrs. CO2 off 1 hours before light off.
Sent from my iPhone using Tapatalk
Thanks bro TTerry!
Sent from my iPhone using Tapatalk
That is some next level scaping skill, very impressive.
It makes me rethink the usage of a bonsai wood.
The placement of the tree is very unique, the color choice of the lava rocks and sand are spot on.
It somehow gave me an illusion that your tank is much bigger than the actual size, like you're using a giant surface skimmer in a 15 gallon or something.
Thanks for sharing but I'm greedy so please share more! lol
Sent from my SM-G925I using Tapatalk
nice tank!
Thanks a lot for your compliments bro JC!I will share more about this scape tonight.

Sent from my iPhone using Tapatalk
 Posting Permissions


Bookmarks